Git is a powerful tool created by Linus Torvalds in 2005 for the development of the Linus kernel, which has a reputation for confounding newcomers. It doesn’t help that most people especially programmers and developers are simply thrown in at the deep end and expected to dive.
With the right knowledge, anyone can master git. Once you start to understand it, the terminology will make more sense and you’ll learn to admire it.
Why another guide?
There are a thousand and one “git tutorials” out there already, but most of them simply tell you to copy/paste specific things to do one-off tasks. Anyone with a keyboard can copy/paste; to really grasp how git works and what it can do for you, you need a slightly deeper understanding.
By no means is this a complete in-depth guide, however, this aims to guide you through a workable understanding of the basic and common commands you’ll use frequently. It’s quite unfeasible to learn such a powerful and complex tool in just one sitting with zero knowledge, so I encourage you to take your time and enjoy the journey. Let's get started!
What is Git?
Git is what we call a version control system (VCS) that is free and open-source and it is the most widely used version control system in development today. Most programmers, developers interact with git on a daily basis. For example, when you edit a file, git can help you determine exactly what changed, who changed it, and why.
What is Version Control?
Version Control is basically a way that we as programmers track how our code changes, i.e the management of changes to documents, computer programs, large web sites, and other collections of information. So when we make countless changes and update our codes, again and again, this helps us to see the changes we have made and directly save them on git, track down bugs or go back to a previous version of the code.
Terms and their simple meaning
Here are some of the git terms commonly mentioned amongst users with a simple meaning as to what these terms are called in a simple language best understood by newbies.
- Directory -> This is basically a Folder on your computer.
- Terminal or Command Line -> This simply means an Interface for Text Commands where you can also install, run programs, and much more.
- CLI -> Command Line Interface is where you type out some text and hitting Enter instead of double-clicking with your mouse.
- cd-> stands for change directory
- Code Editor -> Word processor for Writing Codes, Examples are Notepad+, Sublime, VS code, etc.
- Repository -> also popularly called repo is the Project or the folder/place where your project is kept.
- GitHub -> People also sometimes confuse Git and GitHub (Git != GitHub). While Git is the tool that tracks the changes in your code over time, Github on the other hand, is a website where you host all of your Git repositories.

Git Commands
So here we shall briefly mention a few of the most commonly Git commands here for this introductory part and which you shall be typing into your terminal or CLI on your computer for a start as there are still numerous commands to learn and talk about. The commands include;
- clone -> This brings a repository that is hosted somewhere like GitHub into a directory on your local machine so that you can use it locally in your computer
- add -> This command track your files and changes in Git
- commit -> Save your files and the changes you made in your code in Git using this command
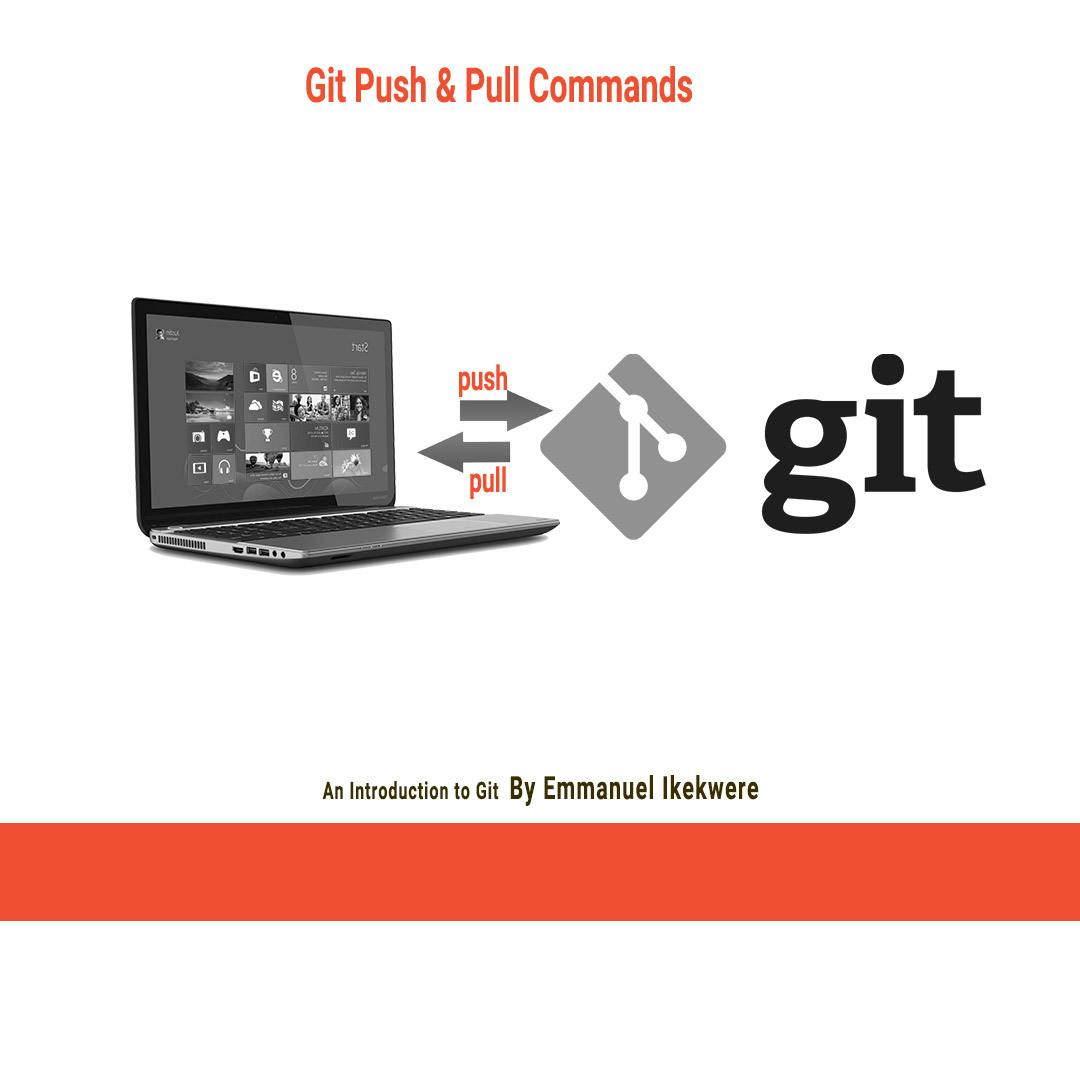
- push -> Once you have made those changes locally on your computer and you're ready to put them in git, this command upload Git commits to a repo, like GitHub
- pull-> When there are changes to your code in GitHub and you want to bring them to your local machine, this command helps you to download changes from the remote repo to your local machine, quite the opposite of push.

How do I get started?
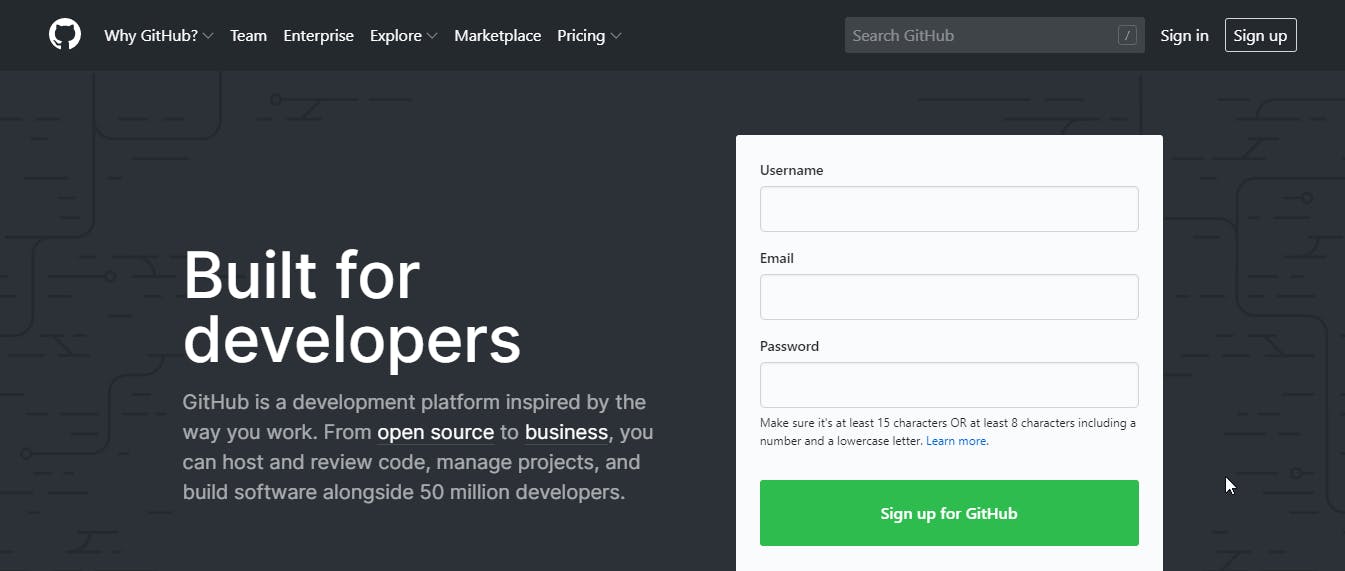
First, you have to signup for an account on github.com by entering minimal information which is straight forward and you will need to confirm your email to log in to your account.

Conclusion
We shall be looking at Git installation and how to create your first Git repository in the next article. Please, do leave a comment as to how helpful this is and do follow for more posts.

